Pilt oma olemuselt on lihtsalt kogum teatud formaadis numbreid.
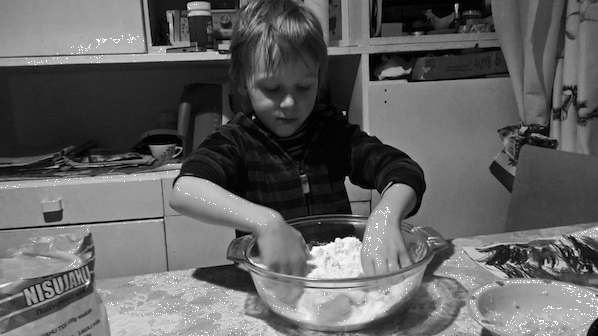
Näiteks allolev pilt (600×338) koosneb 202800 täpist (pixel), kus ühe elemendi väärtus on vahemikus 0…255 (gray scale)
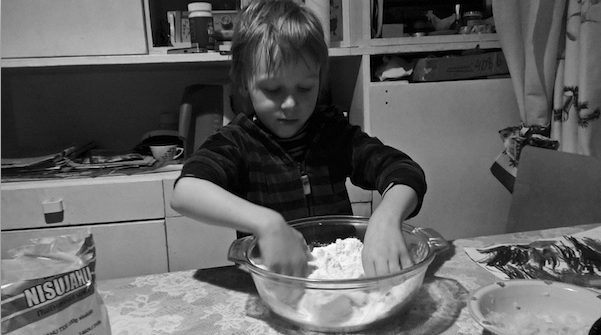
Arvutis asub pildi info kujul [row1;row2;row3…row600] kus row koosneb 338’t elemendist.
Image =
[143, 138, 139, 139, 143, 140, 142, 142, 143, 141, 141, 143, 145, 145, 144, 143, 143, 149, 150, 147, 147, 150, 151, 151, 151, 151, 151, 152, 154, 154, 152, 149, 153, 151, 152, 154, 155, 154, 153, 154, 159, 158, 157, 157, 156, 156, 156, 156, 156, 157, 157, 154, 153, 154, 157, 159, 158, 155, 156, 157, 157, 157, 158, 158, 155, 157, 159, 159, 157, 156, 157, 160, 163, 159, 160, 162, 159, 159, 161, 159, 161, 163, 163, 164, 165, 166, 166, 165, 165, 167, 168, 167, 165, 163, 163, 164, 164, 162, 161, 161, 162, 163, 163, 162, 161, 164, 164, 163, 165, 170, 169, 166, 168, 168, 166, 167, 167, 166, 168, 166, 166, 163, 162, 165, 167, 168, 167, 167, 166, 167, 168, 168, 166, 166, 168, 170, 167, 166, 167, 148, 91, 57, 56, 143, 168, 169, 161, 78, 17, 42, 34, 35, 30, 24, 21, 22, 24, 23, 22, 23, 21, 28, 29, 27, 26, 27, 30, 28, 24, 27, 28, 26, 27, 29, 28, 25, 29, 27, 27, 27, 26, 25, 26, 25, 27, 20, 19, 23, 20, 23, 24, 28, 27, 31, 34, 34, 35, 34, 32, 31, 32, 27, 27, 29, 31, 30, 28, 25, 21, 23, 22, 27, 23, 21, 21, 23, 25, 27, 27, 23, 20, 21, 23, 23, 23, 27, 20, 22, 23, 18, 23, 24, 27, 16, 30, 40, 33, 38, 10, 61, 154, 122, 137, 145, 146, 130, 130, 133, 130, 125, 94, 86, 99, 108, 96, 98, 95, 105, 100, 82, 66, 62, 61, 61, 73, 79, 72, 66, 73, 77, 68, 57, 44, 47, 70, 87, 77, 59, 55, 63, 57, 55, 58, 46, 52, 57, 56, 57, 64, 62, 62, 82, 113, 117, 119, 127, 116, 114, 113, 111, 105, 49, 34, 50, 136, 156, 156, 163, 164, 160, 158, 153, 158, 164, 166, 163, 161, 162, 160, 158, 153, 150, 146, 139, 138, 133, 119, 114, 75, 17, 33, 30, 63, 67, 69, 72, 72, 73, 67, 65, 59, 144, 159, 156, 156, 156, 159, 147, 125….
52, 54, 57, 57, 55, 60, 86, 90, 98, 111, 115, 112, 100, 103, 106, 119, 141, 158, 159, 158, 157, 158, 159, 161, 164, 172, 178, 180, 177, 176, 181, 185, 184, 183, 177, 160, 140, 135, 134, 135, 145, 151, 149, 147, 142, 143, 144, 160, 179, 183, 173, 178, 186, 186, 187, 188, 189, 183, 178, 181, 182, 180, 181, 179, 176, 174, 172, 170, 171, 171, 170, 172, 169, 174, 173, 179, 181, 182, 187, 182, 174, 169, 166, 162, 161, 164, 166, 169, 172, 174, 176, 179, 180, 168, 157, 160, 165, 176, 174, 106, 0, 22, 19, 18, 20, 11, 4, 5, 6, 4, 3, 2, 2]
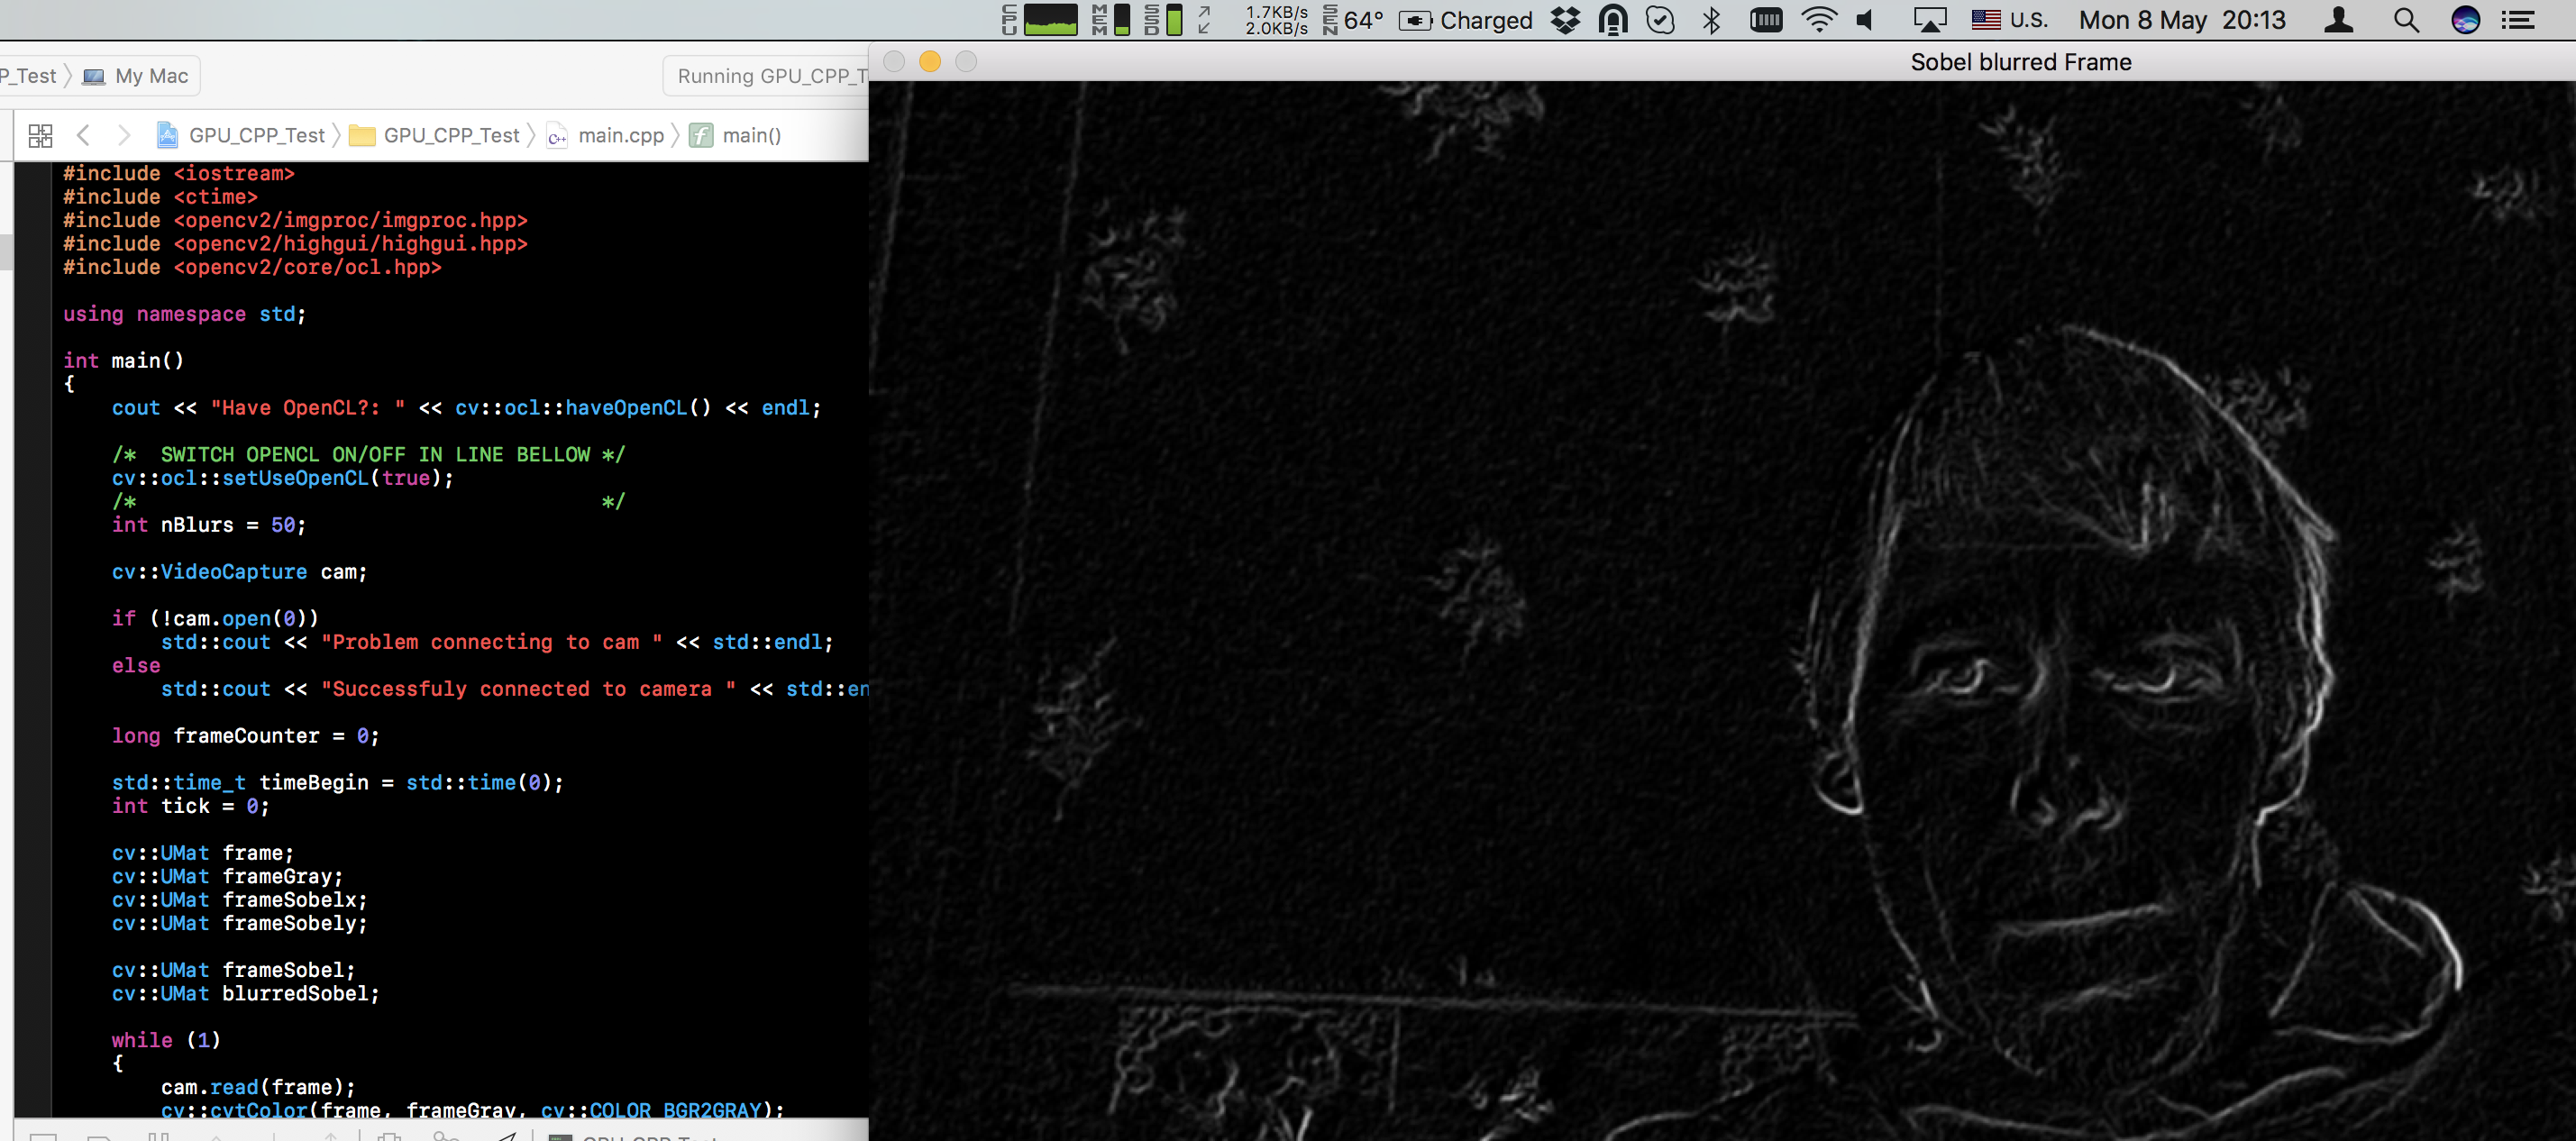
Kuna meil on võimalik iga elemendiga omi tehteid teha, siis teeme näiteks lihtsa tehte, kus me muudame kõik elemendid väärtusega 183 väärtuseks 255 (valge):
#include
#include <opencv2/opencv.hpp>
using namespace cv;
using namespace std;
int main(int argc, const char * argv[]) {
Mat image;
image = imread( “image.jpg”, 0 );
int channels = image.channels();
int cols = image.cols;
int rows = image.rows;
cout << “Image = ” << endl << ” ” << image << endl << endl;
cout << “Channels = ” << endl << ” ” << channels << endl << endl;
cout << “Rows = ” << endl << ” ” << rows << endl << endl;
cout << “Cols = ” << endl << ” ” << cols << endl << endl;
cout << “Size = ” << endl << ” ” << image.total() << endl << endl;
for(int i = 0; i < image.rows; i++){
for(int j=0; j < image.cols; j++){
if (image.at(i,j) == 183) {
image.at(i,j) = 255;
}
}
}
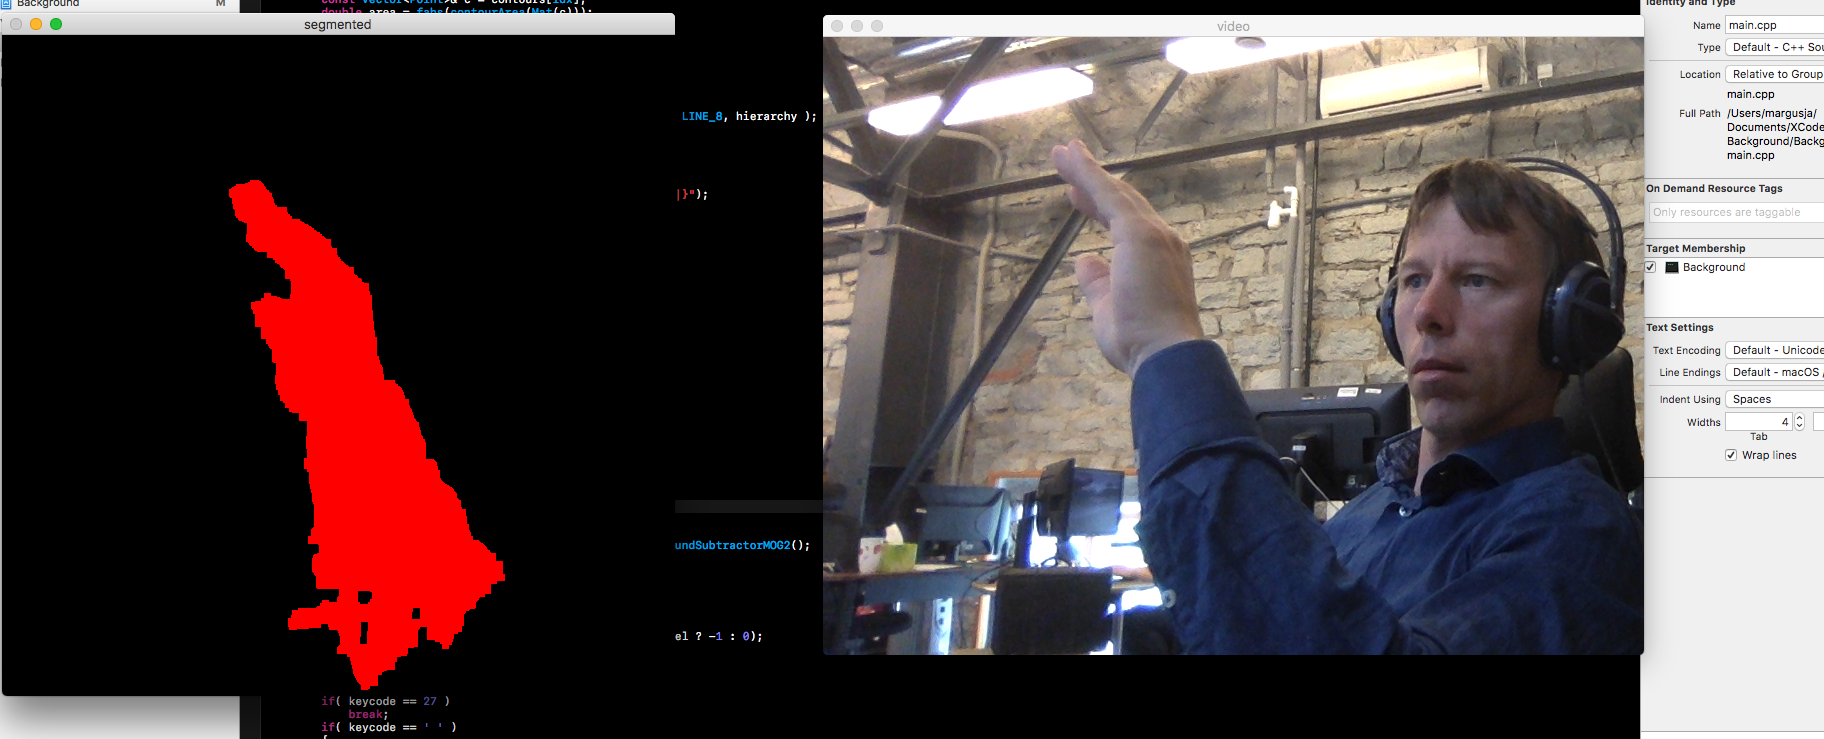
// visualize image
namedWindow( “demo”, WINDOW_AUTOSIZE );
imshow( “Demo image”, image );
waitKey(0);
return 0;
}
Tulemuseks saame uue pildi: